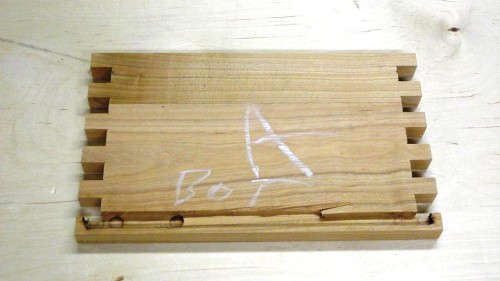
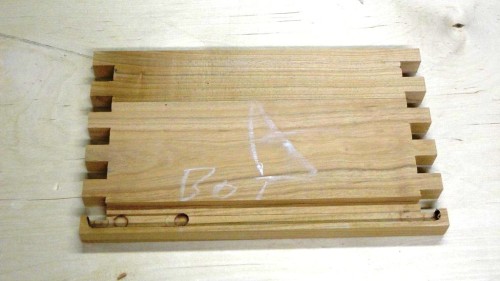
In this installment of Woodworking Damage Control, the challenge was to repair a groove that got away from me. While making some wine totes, I was using a router bit to cut grooves along the inner face of each side to accommodate a plywood base. The problem was that I got a bit impatient and tried removing too much material in a single pass. The bit caught the grain of the wood and ripped out a nice chunk of material, effectively ruining the groove. The sucky part was that the board could not easily be replaced with a new one because a fair amount of effort went into machining the finger joint notches on each end prior to the groove cutting. That, plus the fact that there was no remaining stock for a replacement board. I was properly ticked off…
Luckily, after a little contemplation, I came up with plan B: repair the damaged groove. This involved first widening the groove to remove all the damaged wood. To prevent further wood tear-out, I opted to use a dado blade on the table saw. In this situation, I was able to make a full-length cut with the dado blade because the material to remove was entirely within the box joint sockets so there was no possibility of the groove being visible once the box was assembled.
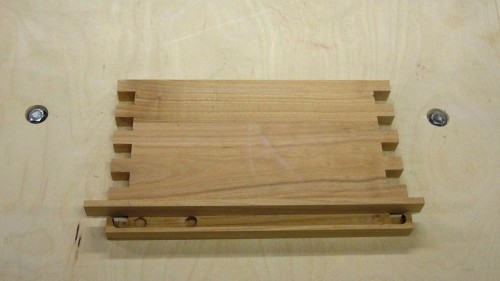
The next step was to glue in a filler piece to replace the damaged side of the groove. There was no need to get too precise here because the piece would be trimmed to size afterwards. The main consideration was that it was wide enough so that the groove could be recut to the desired width.
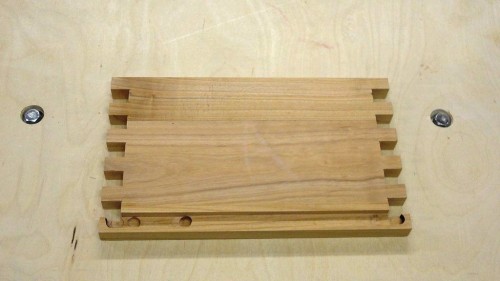
After allowing the glue for the filler piece to cure for a couple hours, I stood the board on end and ripped the filler piece flush with the surface of the board using the table saw. This was followed by a quick sanding. I then recut the damaged side of the groove with the dado blade. This time there was no tear-out and it was barely noticeable that a repair had been made (not that anyone would be examining the inside of a box – just saying). Finally, I recut the box joint sockets to trim back the ends of the filler piece.
The world was good again…


Clever way to salvage the board!