The hand cranks for raising and tilting the blade on my General cabinet table saw were getting progressively harder to turn so I decided it was time for a little maintenance. The blade tilt mechanism was particularly in dire need: not only was it difficult to turn the crank but it produced a horrible screeching sound that put the house cats on high alert.
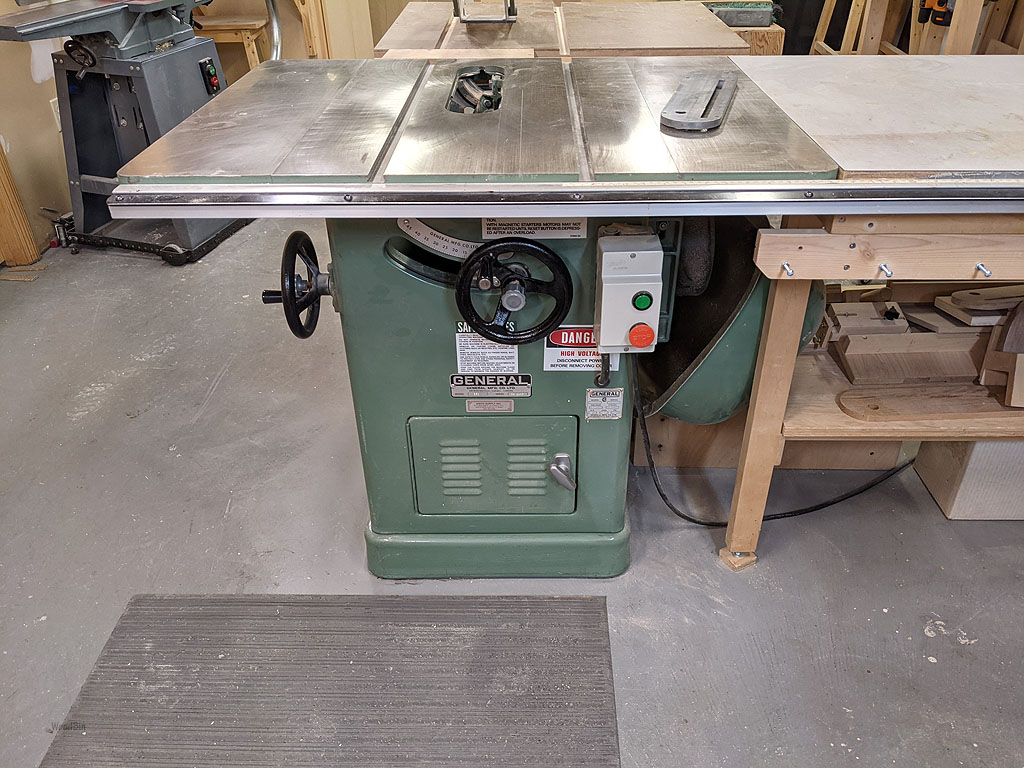
The saw is 30+ years old and probably hadn’t been thoroughly cleaned and lubricated in over 10 years. Perhaps a big part of the reason for my neglect, aside from laziness, was the installation of an extension table that considerably complicates getting access to the interior of the saw. Short of removing the entire extension table, a shelf and shelf support on the table must be removed in order to get access to the four screws holding the motor cover in place. Even then, it makes for a tight fit but I persevered and was able to gain access to the guts of the saw.
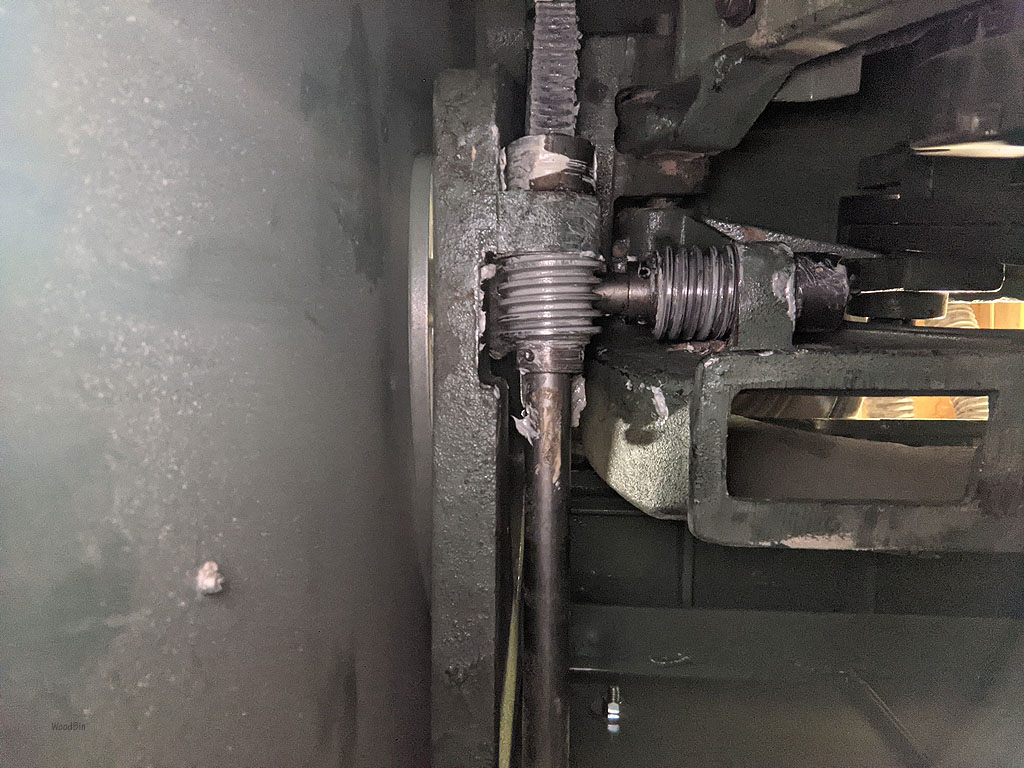
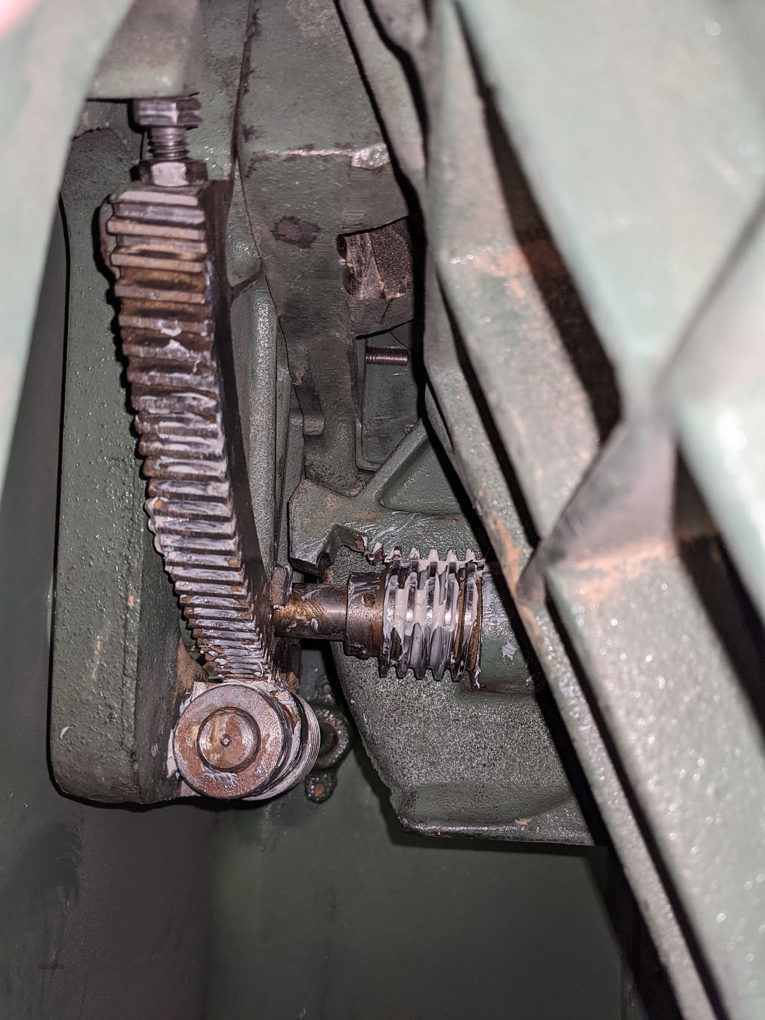
After unplugging the saw and removing the blade, I gave the cabinet a good general vacuuming to remove most of the sawdust. This allowed me to get a good look at the gears on the trunnion assembly that were still caked with hardened sawdust, making it obvious why the cranks were so difficult to turn. There are two trunnions in a table saw, one in front and one in rear, which support the blade arbor and allow the blade to tilt. The front trunnion also contains a worm gear mechanism for raising and lowering the blade. The photo below shows this mechanism caked with sawdust.
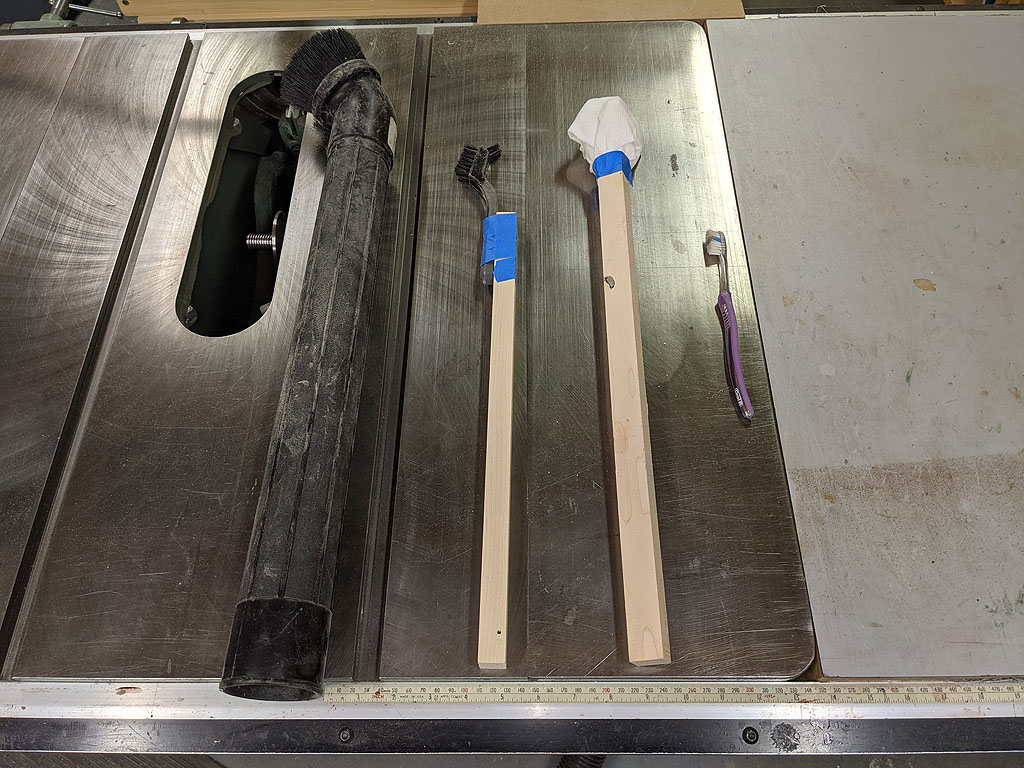
To clean off the hardened sawdust, I used an old toothbrush and a stiffer-bristled nylon brush. I taped the nylon brush to a piece of wood which made it much easier to reach the deep recesses of the saw. After brushing off as must sawdust as I could, I used a vacuum in combination with compressed air from an air compressor for the final cleaning. I thought that I had vacuumed away most of the sawdust at the outset but the compressed air really got the dust a-blowing!
I also had to give the front and rear trunnion bracket grooves a good cleaning. These grooves allow the blade carriage assembly to rotate in order to tilt the saw blade. The rear trunnion groove is directly behind the blade and was particularly caked with sawdust. But it was nothing that a little brushing and WD-40 couldn’t handle.
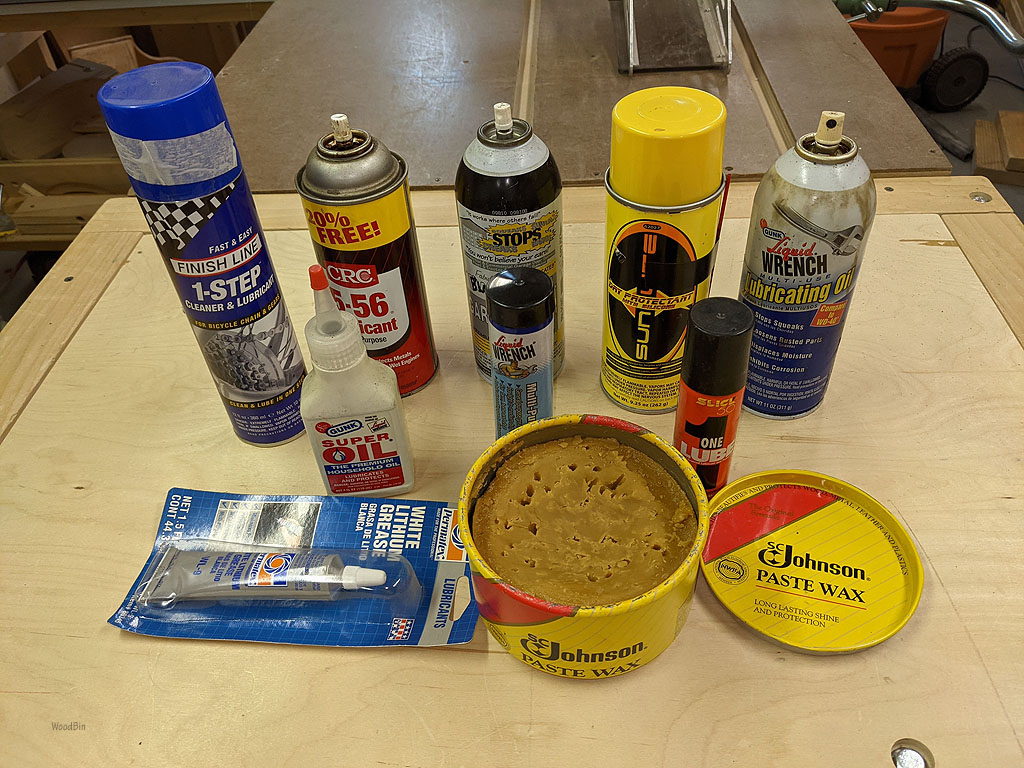
Once all the components were cleaned off, the next task was to lubricate the moving parts. There’s lot of advice out there about what type of lubricant is best but many table saw experts and manufacturers recommend using either paste wax or lithium grease. Luckily, I had both in stock, as well as a bunch of other lubricants including a dry silicon bicycle chain lube. I applied white lithium grease to the worm gear and teeth mechanisms. For the trunnion grooves, I performed a little experiment by using paste wax for one and chain lube for the other. I’ll take a peek in a few months and see which one has collected more sawdust. I also sprayed chain lube on the various pivot points, hand crank shafts, and other “spinny” parts.
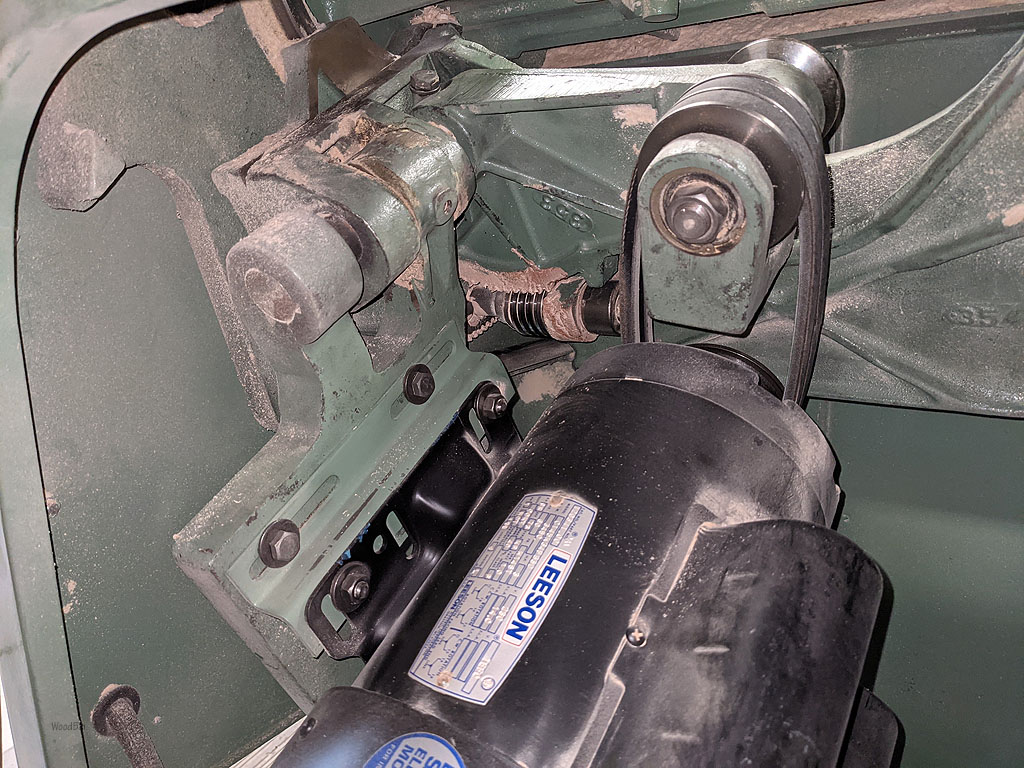
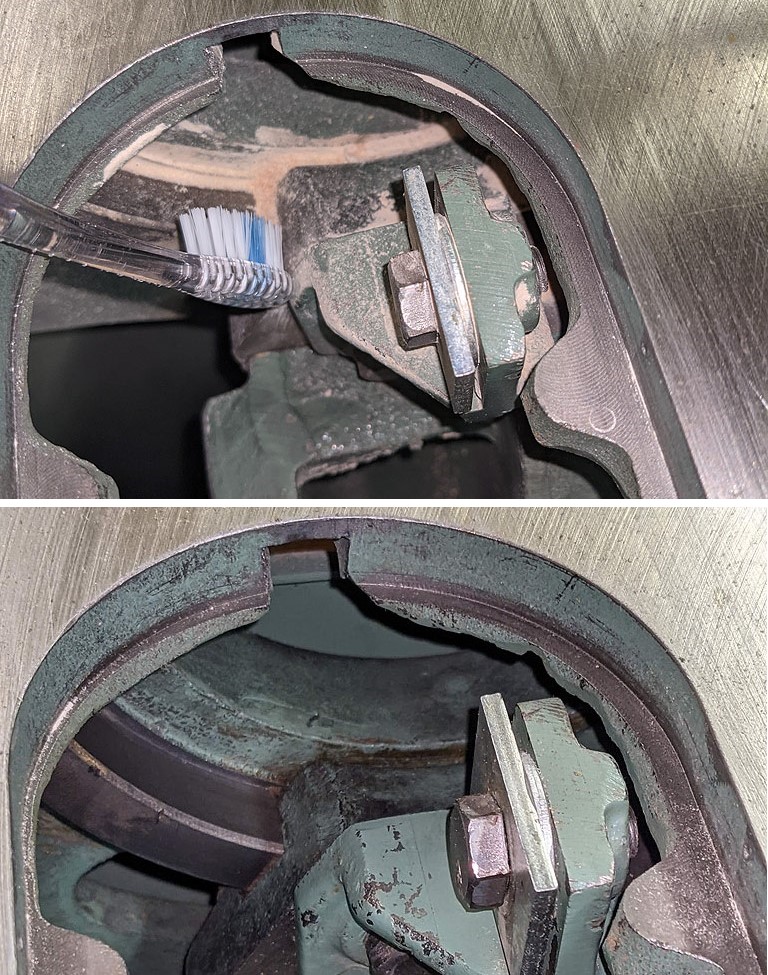
The access hole on the motor side of the cabinet saw provided decent access for cleaning and greasing the gear assemblies. I initially thought I did a good job cleaning but after taking a photo with the flash on, I saw that there was still a fair amount of gunk on the teeth and gears. In the photo below, the teeth on the left are for the blade tilt and the one on the right is for blade lowering/raising.
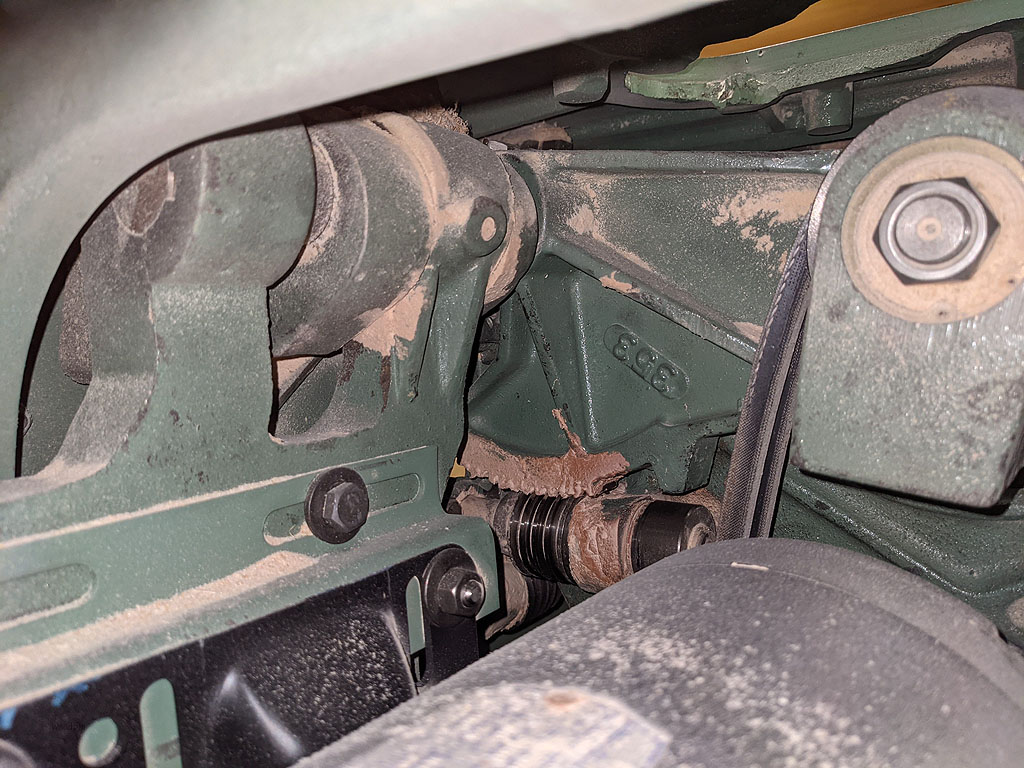
So, I cleaned some more using WD-40 with the nylon brush and reapplied the lithium grease. This time the results were deemed acceptable. The photo below is a bottom view of the gears that was taken by pointing the camera straight up from inside the access port in the front of the cabinet. Next time I lubricate the saw, I think I’ll try to reach the gears through this port rather than going through the bother of removing the motor cover.