If you’re ever in need of a dowel but don’t have one handy, there’s an easy fix: roll your own! The DIY approach not only provides immediate gratification but also allows you to create dowels of custom size or species that may be difficult to find in stores or online. And you’ll likely save money. There are a number of ways to create dowels; here is a method that works for me.
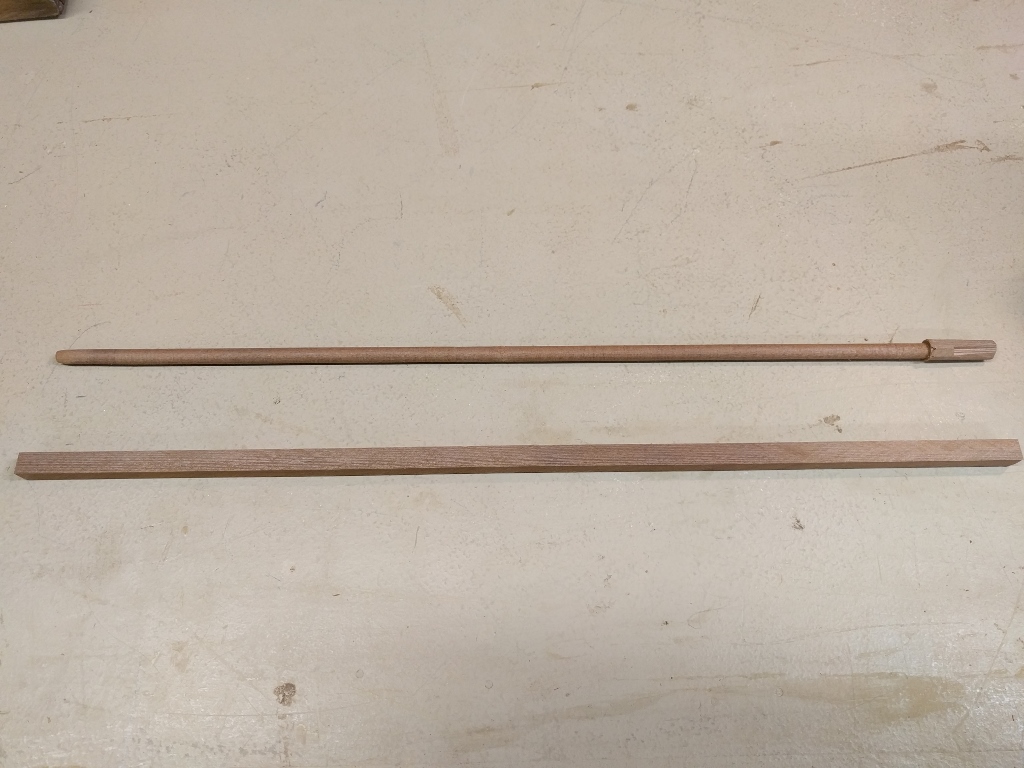
Before and after: redwood blank and finished DIY dowel
The first step is to rip the wood to form a square blank that is slightly larger than the desired dowel diameter. For example, if the dowel diameter is 5/16″, create a blank that is 3/8″ x 3/8″. Use the disk sander to round off one end of the blank so it fits into the hand drill. Then rough-round the blank by spinning the blank in the drill while rubbing it against the rotating sanding disk. Taper the end of the dowel so it fits into the cutting jig.
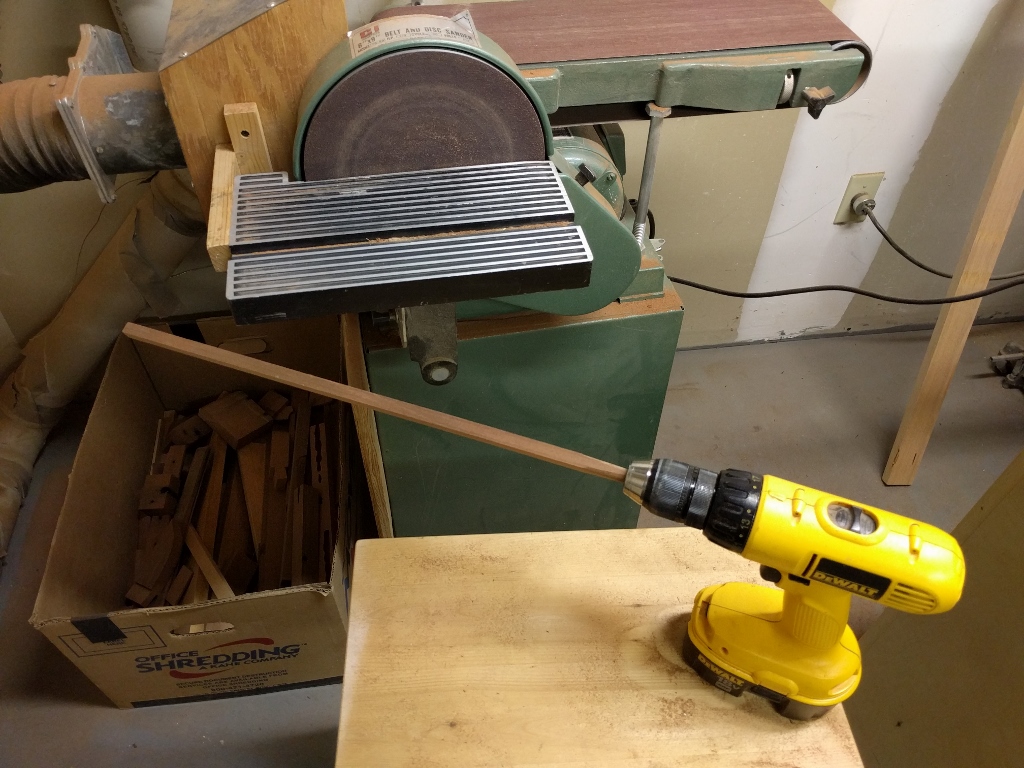
Blank mounted in drill is rough-rounded with disk sander
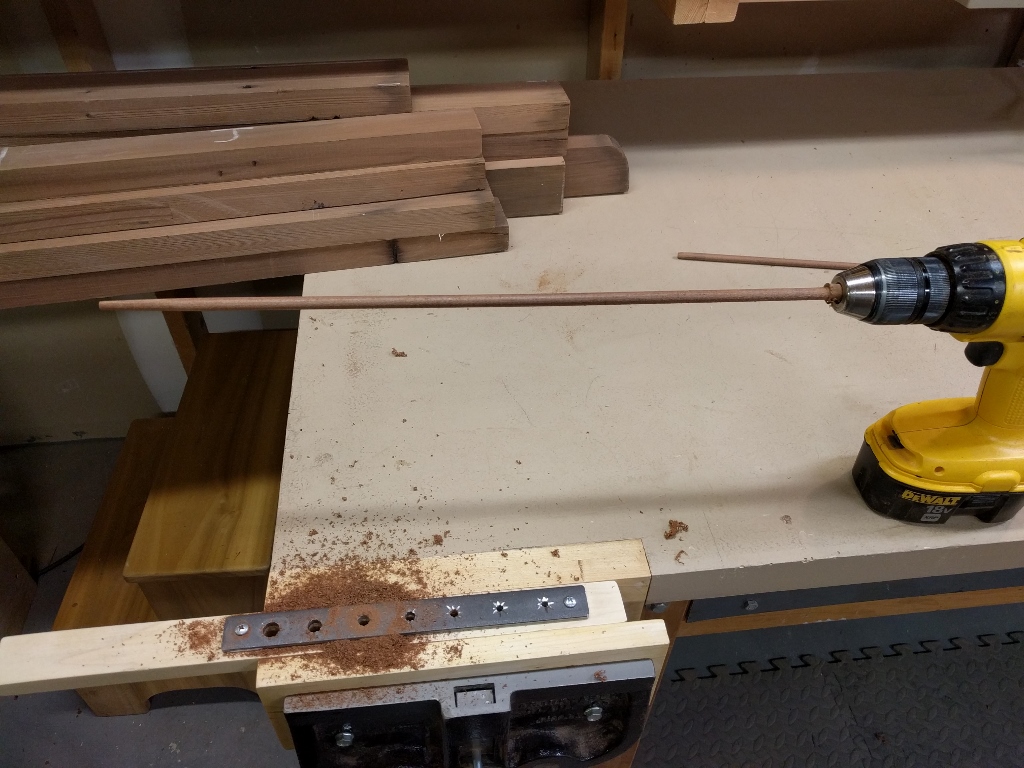
I created a dowel cutting jig from a piece of 1/4″ plate steel. It consists of a series of successively larger holes ranging from 3/16″ to 7/16″. The top of each hole was roughened with a small Dremel sanding disk to provide better cutting action. The plate was mounted on a piece of wood to facilate clamping it in place. Beginning with a hole that is slightly smaller in diameter than the rough-rounded blank, the blank is spun in the drill while being pushed through the cutting hole.
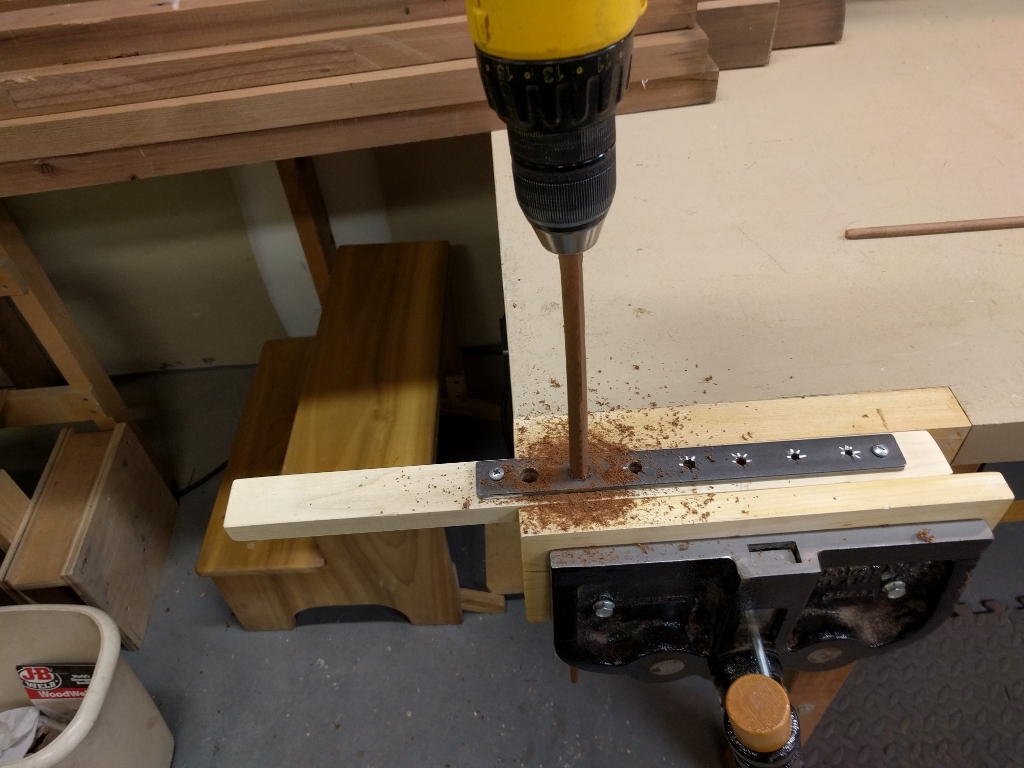
Blank is “drilled” through dowel cutting jig
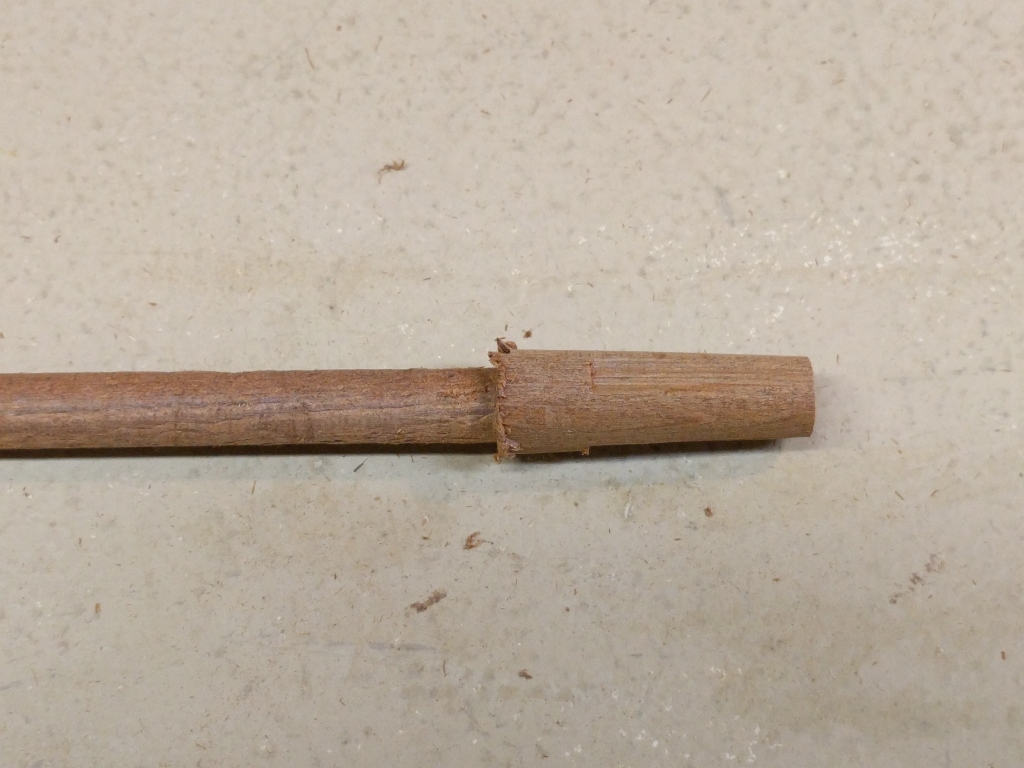
If the wood doesn’t cut easily, the blank may require further rough rounding on the sander or it can be pushed through a larger hole in the jig while held at an angle in order to take off more material. The dowel may look a little rough after the first pass through the jig.
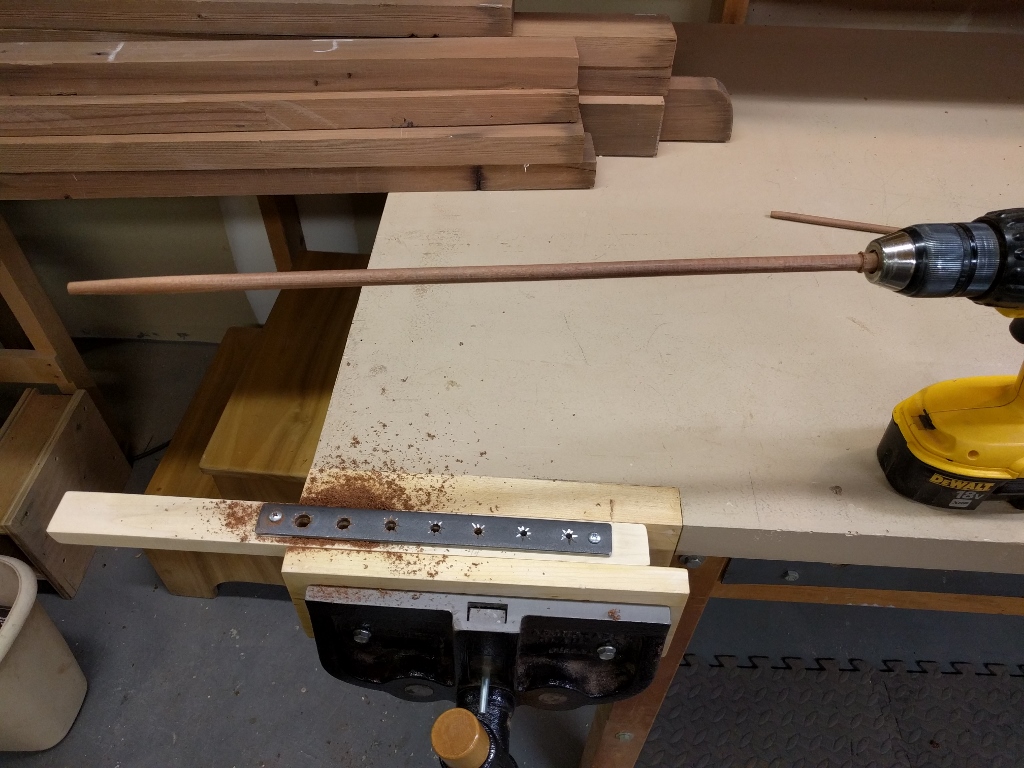
Dowel after first pass through jig
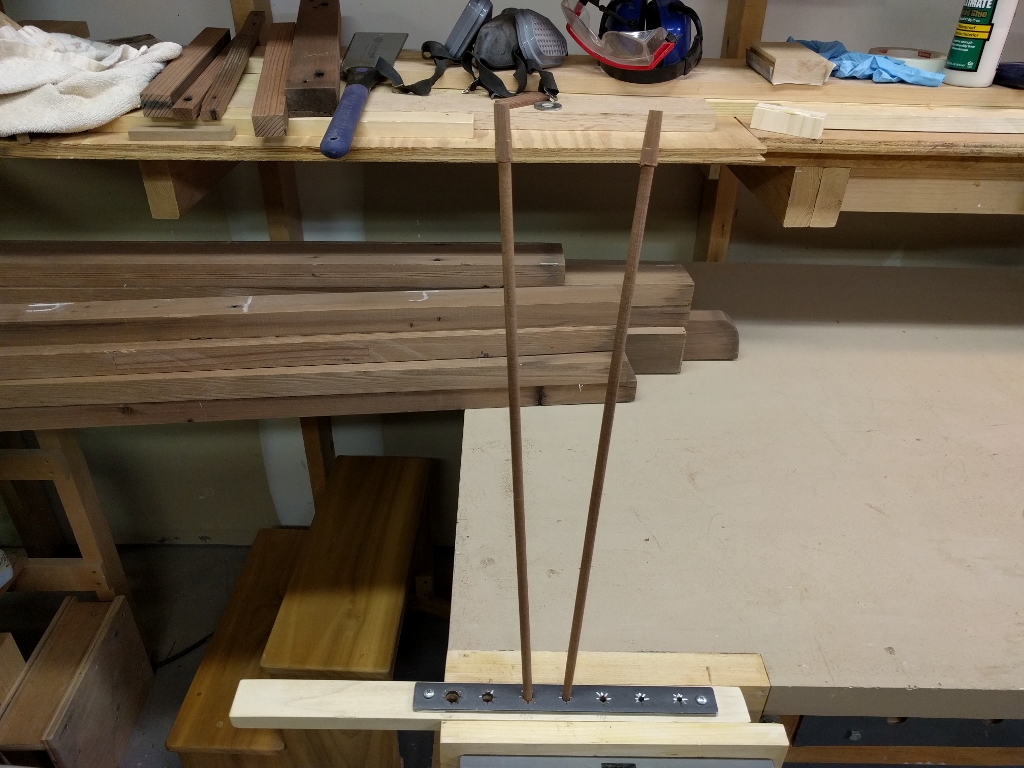
A second pass through the jig using the next smallest hole produces a nice smooth dowel of the desired diameter. It’s quite a sight to observe a dowel form right before your eyes!
Completed dowel after second pass through jig
The base of the dowel near where it fits into the drill will likely be beat up a little bit because there’s a tendency to rock the dowel slightly at the end of the cutting stroke. Not a big deal – the rest of the dowel is in fine shape.
Close-up view of base of home-spun dowel
In about 10 minutes, I cranked out two custom dowels made from old-growth Redwood (try finding these online). They were immediately put to use to pin some mortise and tenon joints.
DIY Redwood dowels ready for business