An angled mortise and tenon joint can be a challenge to cut, especially for those of us who don’t make such joints on a regular basis. That’s where a jig comes to the rescue. Here’s a quick and dirty “semi-adjustable” jig that can be built in a half hour or less that simplifies the task of cutting angled tenons on the table saw.
Poor man’s angled tenon jig
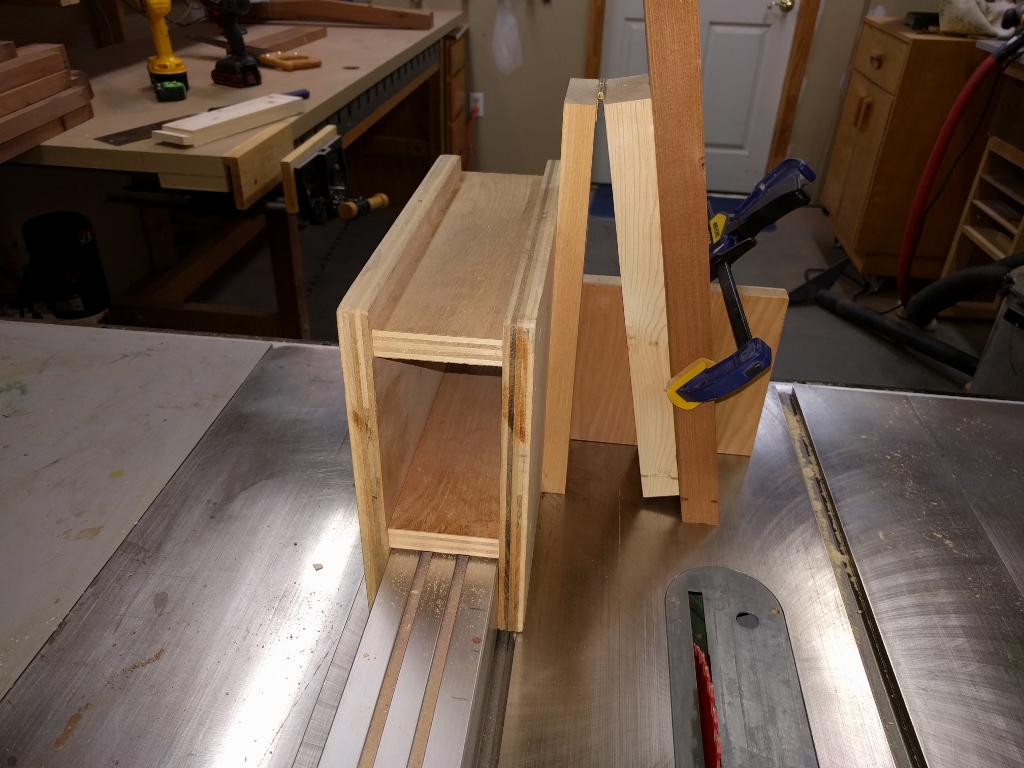
The jig is quite simple. It consists of two uprights that are connected at the top by a hinge, with the inner upright screwed to the side of a wooden sled that slides on top of the rip fence. This “sled” happens to be my normal tenon jig with a couple pieces removed. The hinge allows the outer upright to pivot left or right to form the desired tenon angle. The upright is held in that position by a rear block that attaches to both uprights via wood screws (the afore-mentioned “semi-adjustable” part).
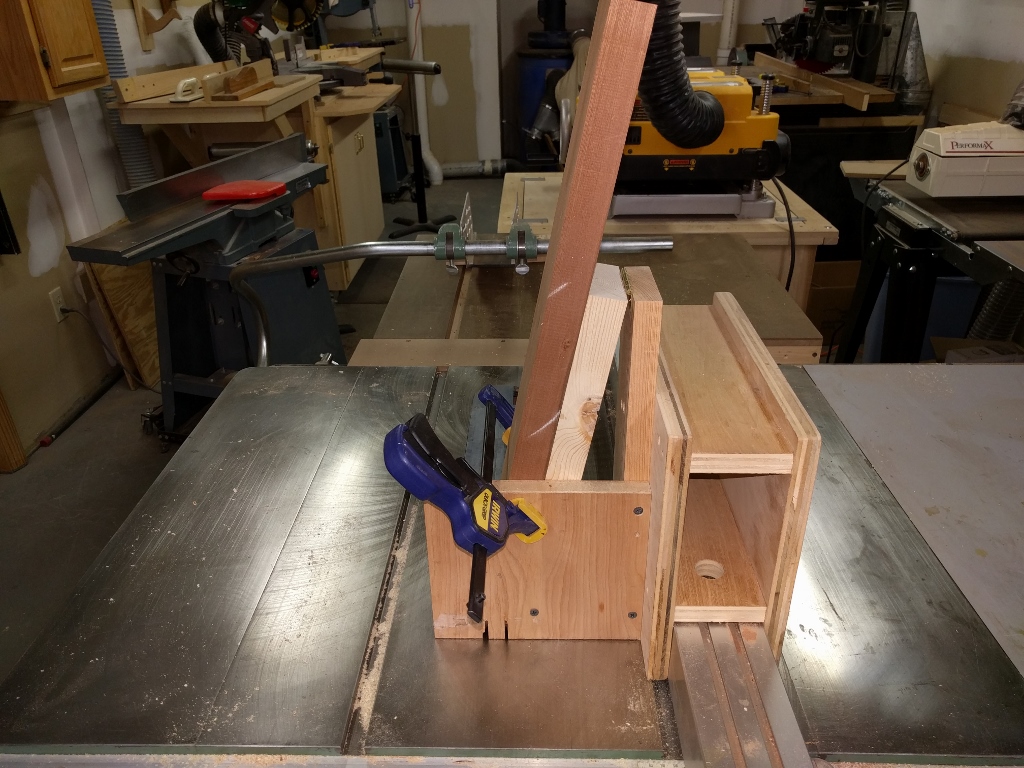
Back view of angled tenon jig
With a nice sharp dado blade, I suppose the tenon cheeks could be formed entirely with the jig but I prefer to separately cut kerfs to define the shoulders of the tenon. I think this generally makes for a cleaner look. To make the kerfs, I first cut off the end of the board with the table saw blade at the desired angle, in this case, 10 degrees. The shoulders of the tenon are then carefully marked and cut with the blade at the same angle to the requisite depth (about 1/4″). The rip fence can be used as stop for cutting the shoulder kerf on one side of the board.
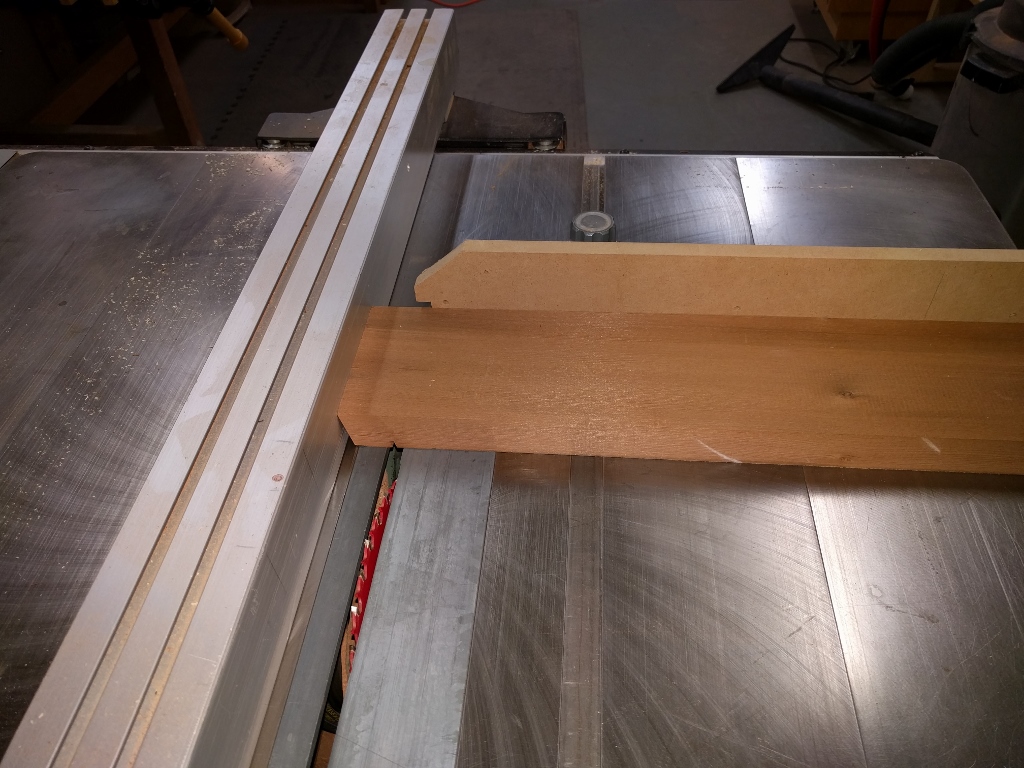
First shoulder kerf is cut using the fence as a stop.
The board is flipped over and the other shoulder kerf is cut with the assistance of a stop block attached to the miter gauge. There’s a little trial and error getting this cut to line up with the first one. I found that an angled “gauge” block cut from a piece of scrap makes it easier to mark the cut lines. It also helps to make a few practice cuts on a piece of scrap. The tenon cut lines can also be marked at this time.
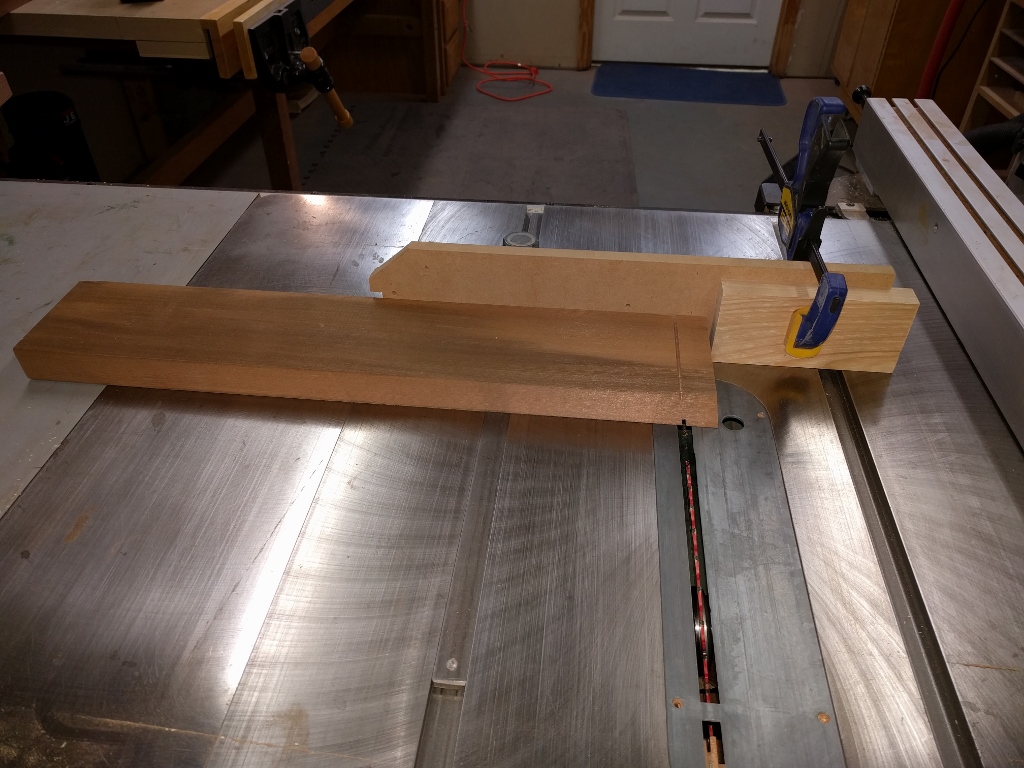
Second shoulder kerf is cut using a stop attached to the miter gauge
The next step is to place the board into the jig, pivoting the hinged upright as necessary until the angled end of the board is resting exactly flat against the table saw surface. Clamp the upright to the rear support block and screw in place. The board is then clamped to the support block (or the upright). The blade height is adjusted to match the tenon depth.
Setting up the jig to cut the tenon cheeks
After positioning the rip fence so the blade lines up with the outer tenon cheek cut line, the outer cheek is cut with the first pass of the jig over the blade. The fence is moved left by a tenon width and the second cheek is cut. Again, these cuts should be perfected on a piece of scrap. In practice, the outer cheeks on all boards should be cut before adjusting the jig to cut the inner cheeks.

The first pass forms the outer tenon cheek
The final task is to form the short shoulders of the tenon so the tenon width matches that of the mortise. I found a hand saw and wood chisel to be the easiest way of accomplishing this task. It’s not the greatest photo, but here’s a photo of a finished angled tenon on the end of a garden bench armrest. The angled tenon allowed the armrest to lie horizontal with one end firmly attached to the angled rear leg of the bench.
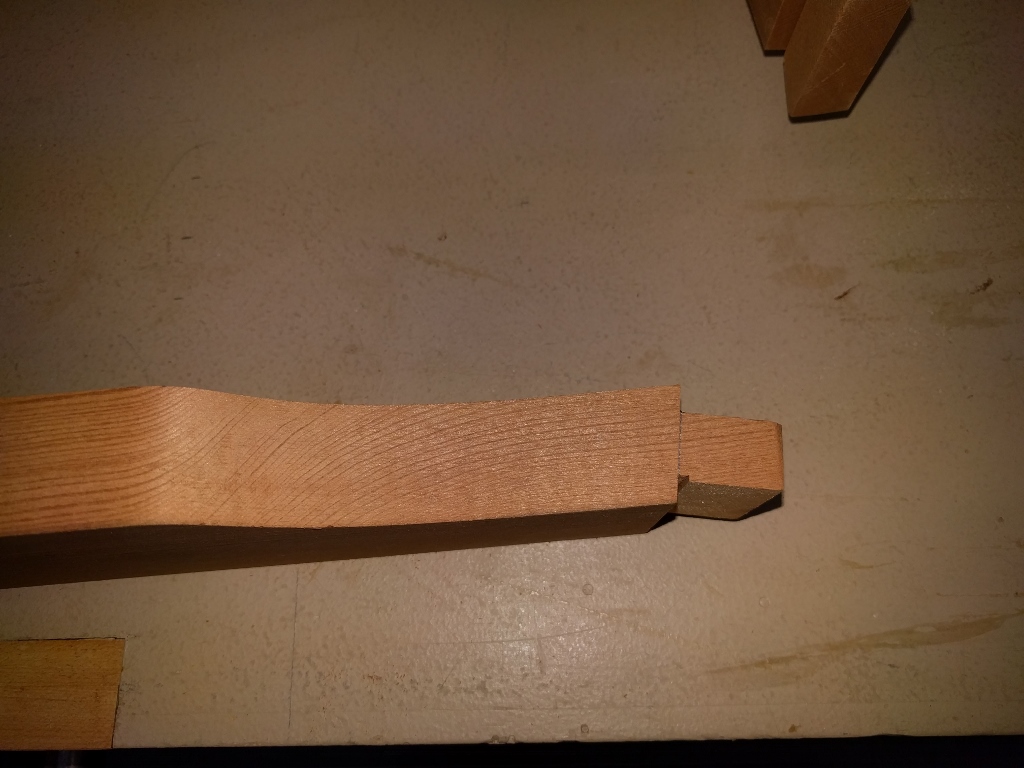
Finished angled tenon ready for service