I was fortunate to salvage a number of boards from an old redwood bench in order to repurpose the wood into a newer, cooler bench but one of the challenges was repairing the various nail holes that were left behind after pulling out all the rusty old nails. I could have gone for the rustic look and just left the holes but I didn’t want to provide opportunities for bugs and rain/ice to get inside the wood and wreak further damage. So I embarked on a nail hole-filling venture.
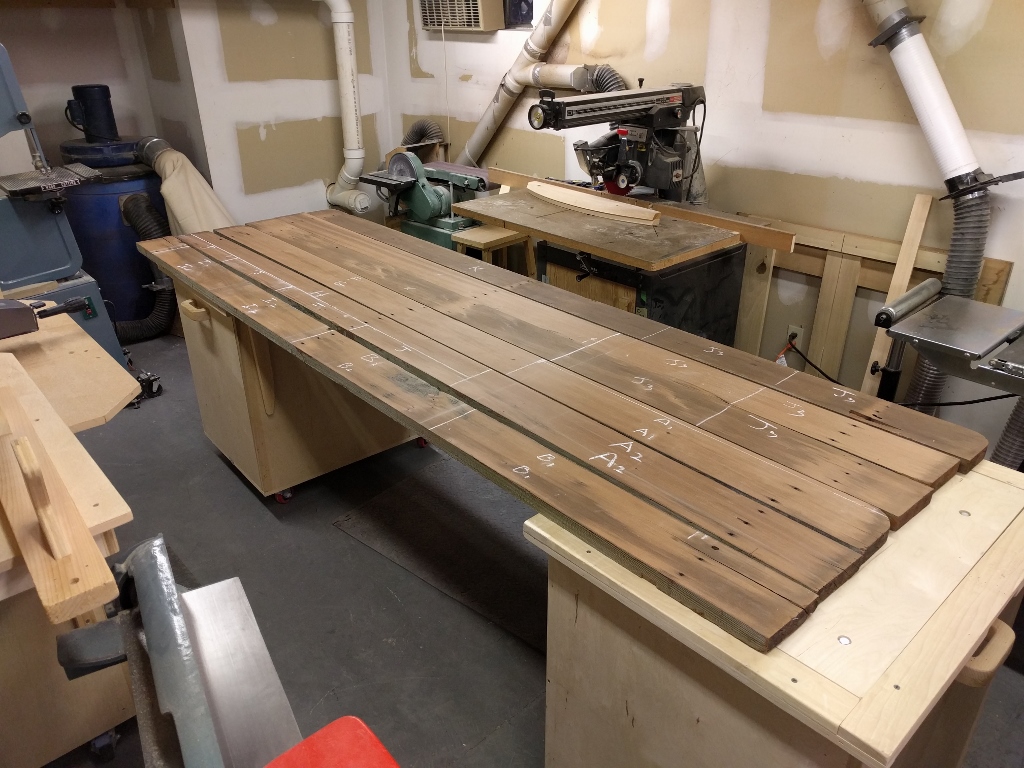
Redwood lumber salvaged from an old bench
After an initial surface planing, the boards were cut into smaller pieces that formed the components of the new bench. Some of the nail holes were able to be excluded during this process, but not all of them. One such example is shown below. This board is about 2-1/2″ wide with two nail holes about 3/16″ in diameter. One of the holes is very close to the edge and the other is set in about an inch.

Rusty nail holes in board salvaged from old redwood bench
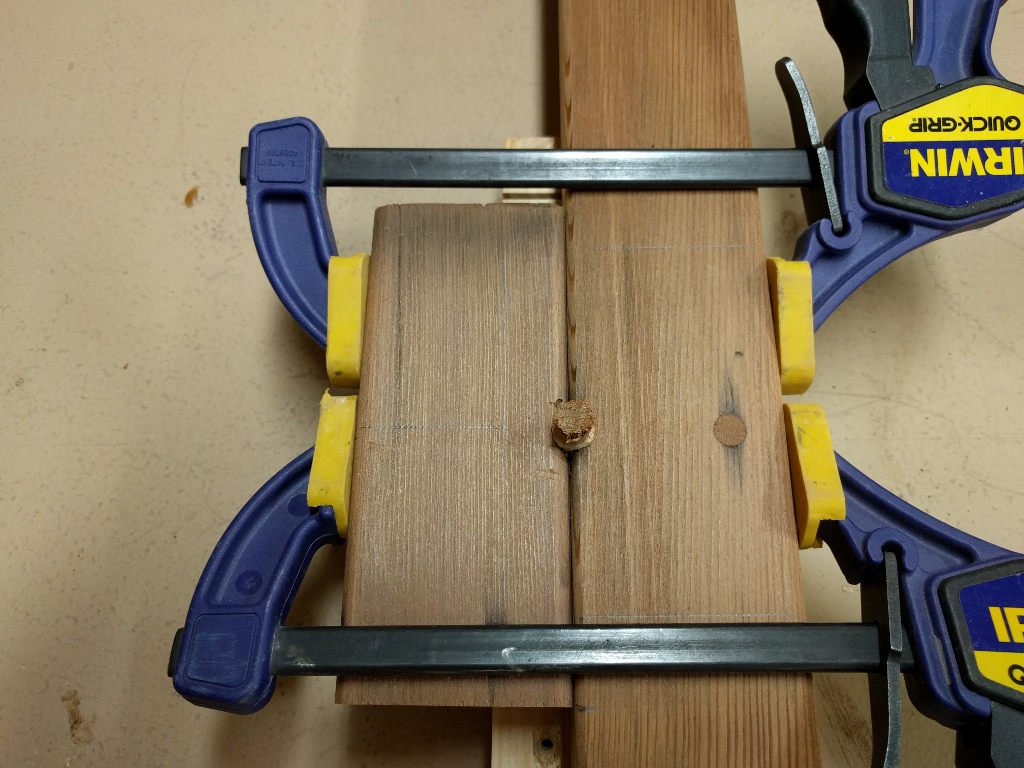
The basic plan of attack was to bore out the holes to make them perfectly round and then plug them with wooden dowels. For the boring, I used a 9/32″ spiral bit that was just slightly smaller than the 5/16″ diameter dowel plugs. Redwood is a soft wood so making the holes slightly undersized did not pose any problems and made for a tighter fit. I clamped a piece of scrap wood to the side of the board to prevent a blowout while repairing the hole near the edge. A piece of scrap was also placed under the board to make for a cleaner exit in the drill hole.
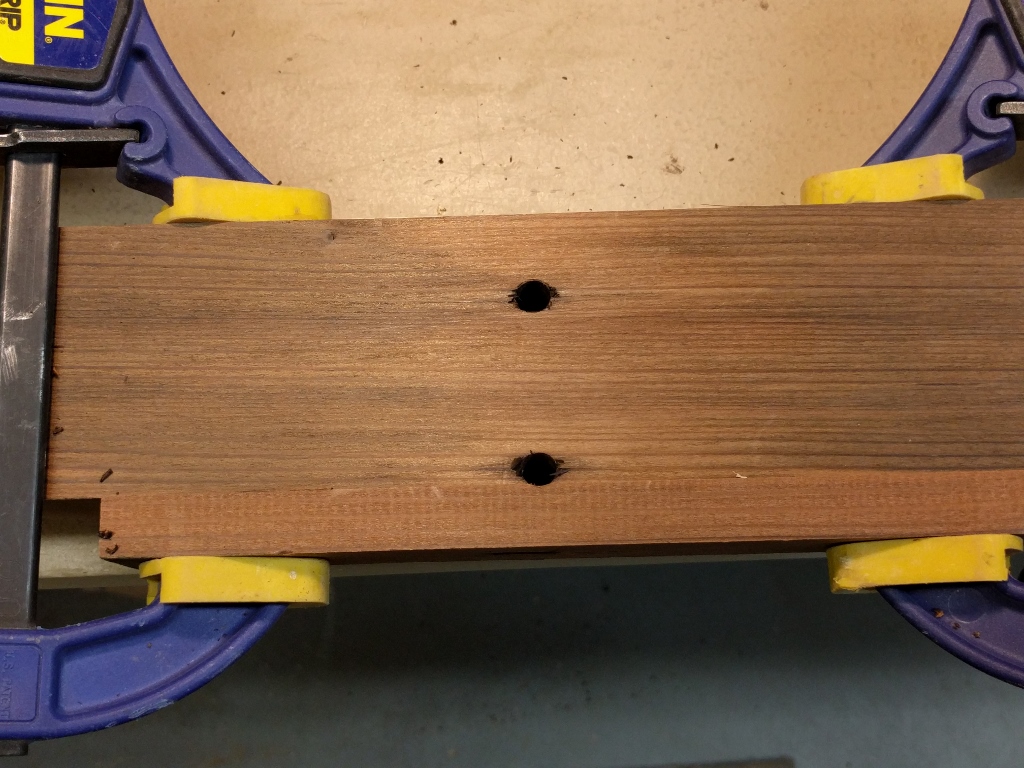
First step is to bore nail holes smooth with drill bit
After hole reaming, plugs made from 5/16″ diameter dowels were coated with waterproof glue and pounded into the holes with a mallet. For the best color match, I used homemade redwood dowels made from scrap material.
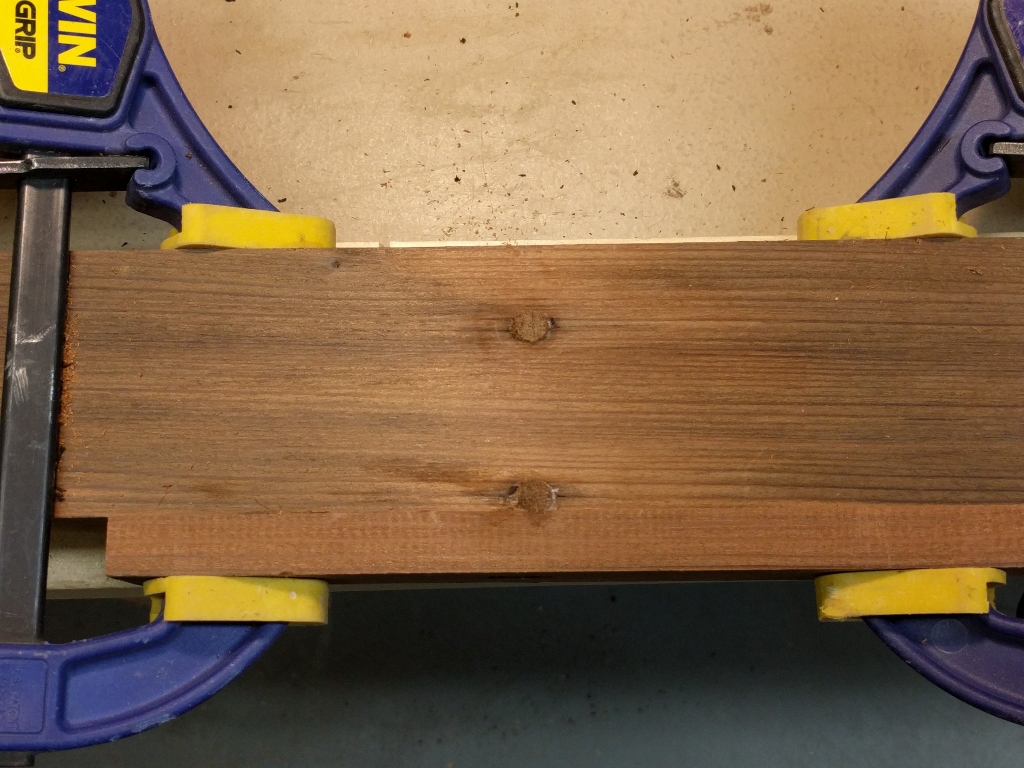
Next step is to apply glue to dowel plugs and drive into holes
After the glue dried, the dowels were cut flush with a Japanese hand saw followed by a light sanding. The result is shown below. Admittedly, the fix is not a perfect one since it’s obvious the holes were plugged but it’s quite an improvement over the rusty nail holes. And after a final surface planing and stain, I expect the repair job to be less obvious.
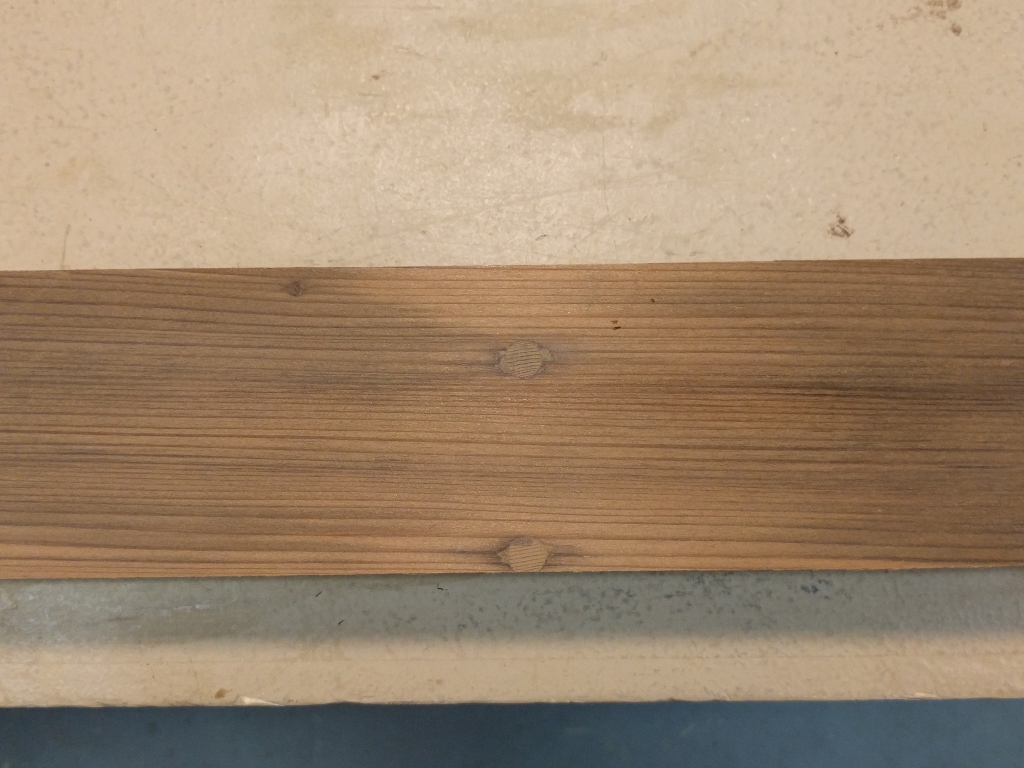
Final step is to trim plugs flush and sand smooth
A nail hole on the very edge of a board is slightly more challenging. In this situation, a side support piece is essential for inserting a dowel plug because it prevents the drill bit from bouncing off the side of the board and the resulting hole, shared between the board and side piece, provides a solid anchor for the plug. Although not shown in the photo, I clamped a piece of thin masonite on top of the nail hole, marked the center of the hole, and then drilled the plug hole. This also helped to keep the hole properly aligned.
Plug on edge of board extends into scrap side piece
After the glue dried, the side piece detached after a sharp rap with the mallet, leaving behind a plug that was half in the board and half out. I removed the protruding half of the plug by a careful rip cut on the table saw. This was followed by a light sanding.
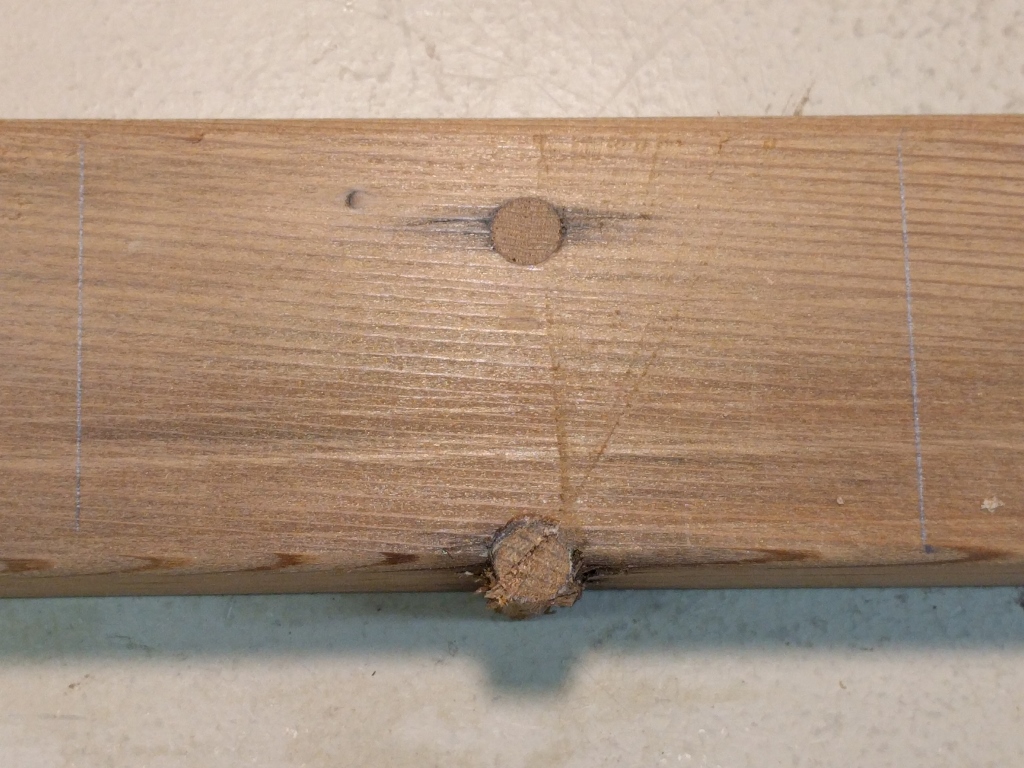
Plugged edge hole after removing side piece
The end result was a piece of solid material in place of an unsightly nail hole. I think the cross grain of the plug added a little visual interest to the board.

Repaired edge hole adds a little character to the board
Here is another example of nail holes that needed fixing. In this case, I opted to fill the holes after assembly of the new bench. As before, I clamped a piece of scrap to the back to create a cleaner exit hole. But, there was no need to provide side support since neither of the holes was right at the edge of the board.
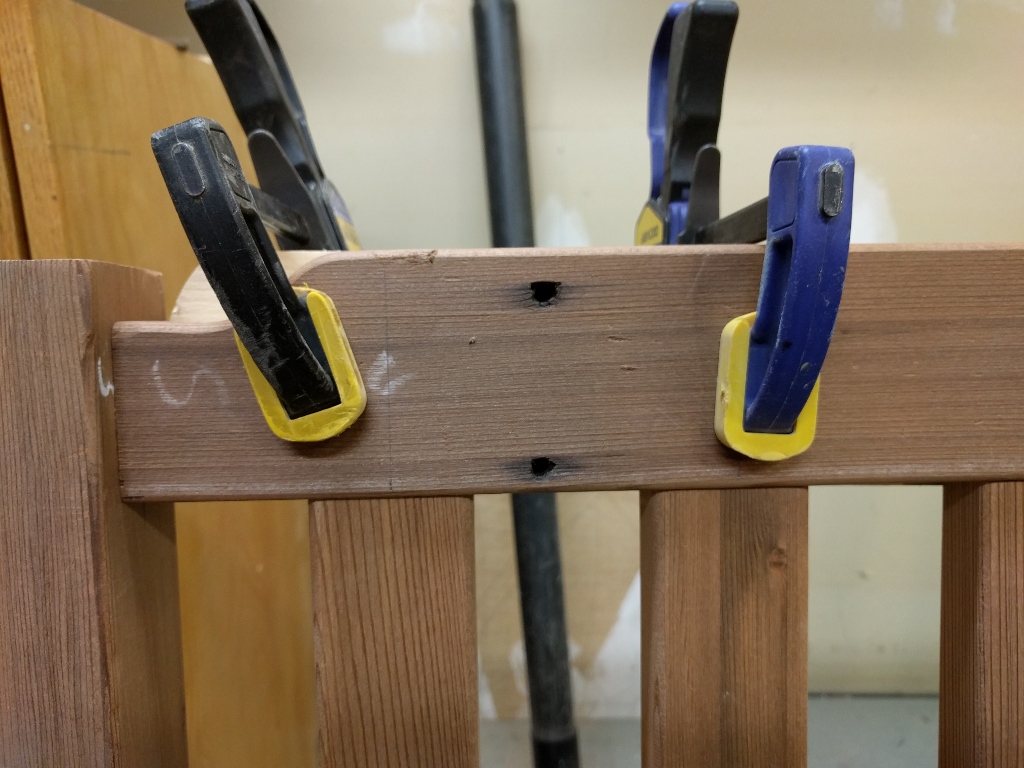
Old nail holes in top rail of new redwood bench
Here is the board after boring out the nail holes and inserting dowel plugs. In this case, I used slightly larger 3/8″ diameter dowels.
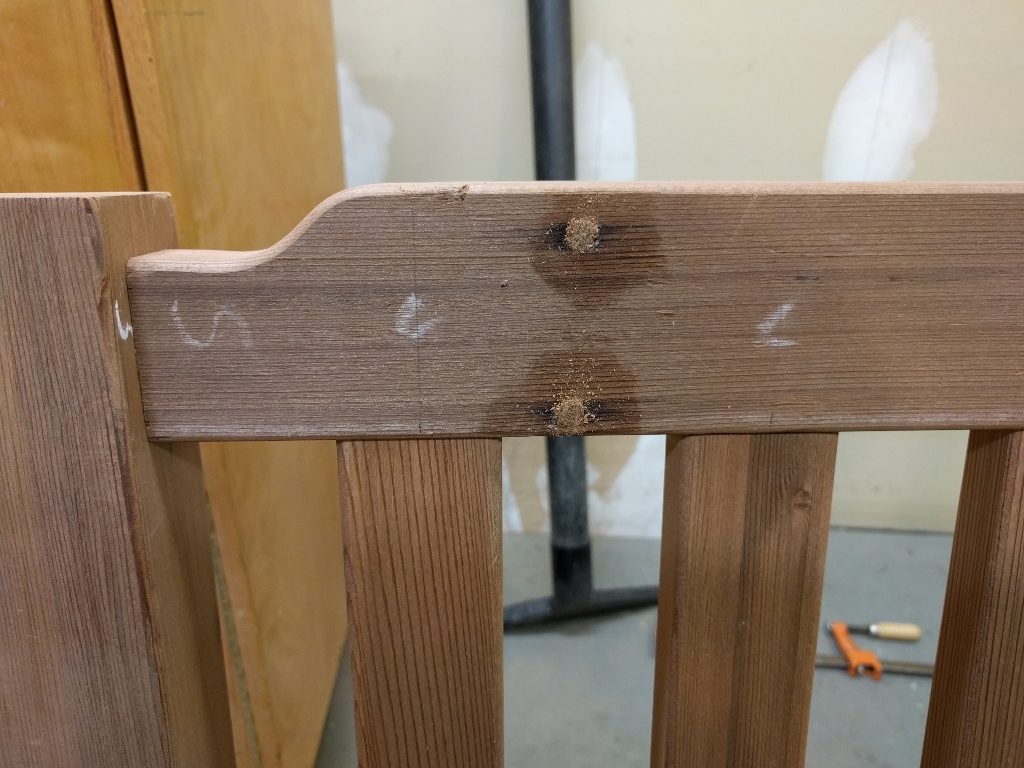
Nail holes plugged with DIY redwood dowels
Finally, the plugs are trimmed flush and sanded smooth.
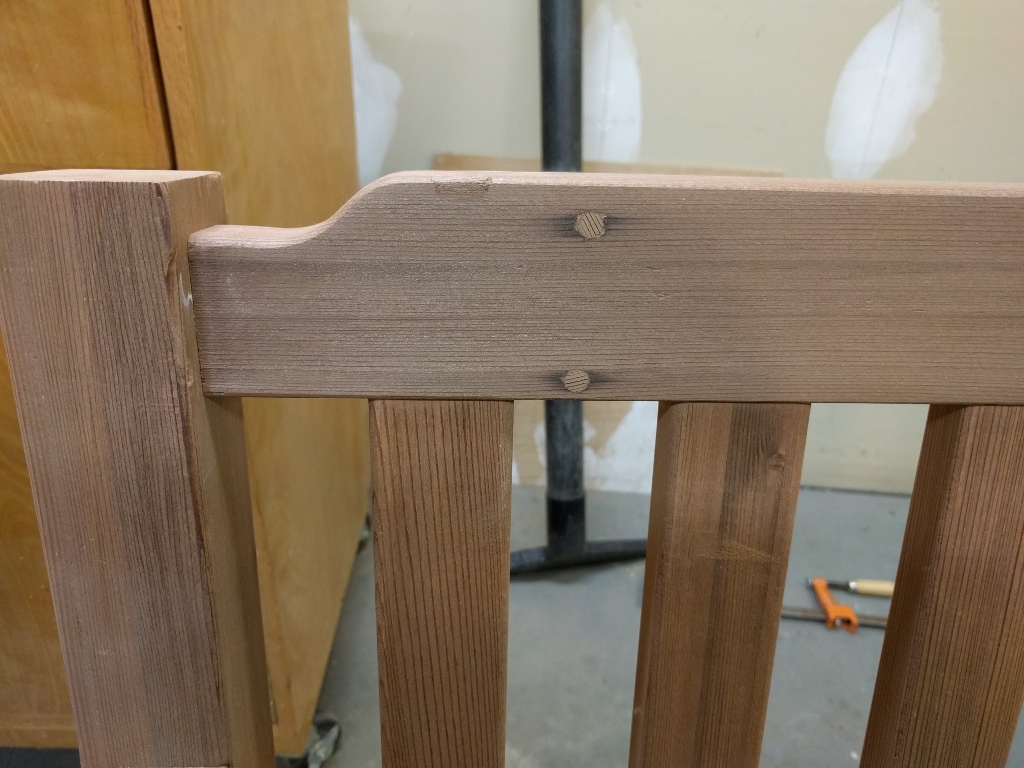
Plugs cut flush with Japanese hand saw and sanded smooth
In a future post, I’ll discuss how I repaired larger holes made by carpenter bees. That was fun…